Creating a Space for Creativity!
- Aug 6, 2023
- 3 min read
Updated: Jan 6, 2024
**This blog post includes Amazon affiliate links and I will earn a commission for qualifying orders through these links.
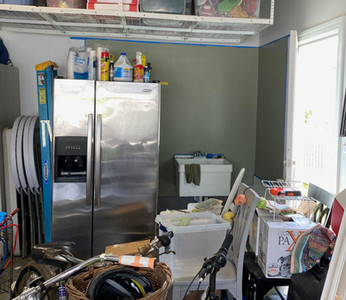
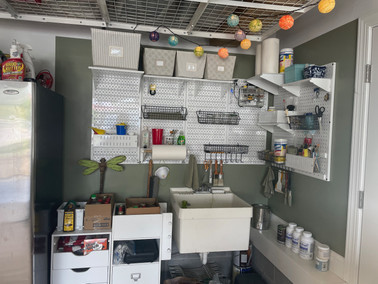
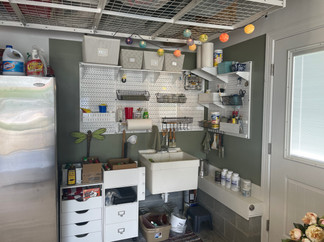
As all good crafters know, if you want to get your creative energy and mind flowing with no distractions, you need a well organized crafting space. I was using our garage utility sink area for craft work - especially glass etching since I didn't want the chemicals in the house. I was having a hard time staying organized because the space had no shelves or cabinets to store or set any items. So I set out to create a space for creating....


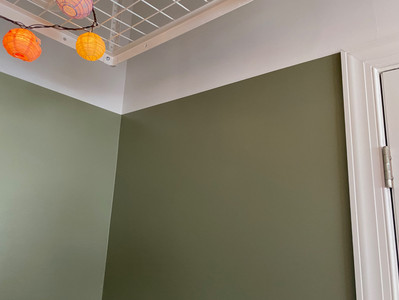
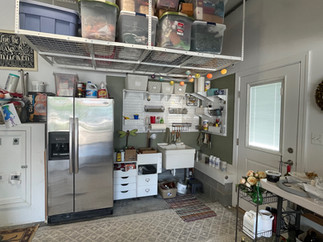
I don't have a great 'before' picture of the totally blank space. Closest I have is when it was already painted green. You'll have to use your imagination to visualize this as white walls with nothing on them. I painted the area green - matches the color of our siding - to create the feeling of a separate room or area.
This short video gives you a feel for the space. Below the video is a list of the process and products I used in the project (underlined text are links).
I hope you leave this post inspired to create your own space for creating!
Picture gallery below.
Step 1: Painting
The first thing I did was tape off the area and paint the walls green. I used a higher gloss paint so I can wipe the walls down if needed. I painted behind the refrigerator because the crawl space opening - floor height to the left of the fridge - seemed like a logical place to tape off the space. When I later decided the fridge being that close to the sink seemed a bit cramped, I ran into an issue that I'll explain in Step X.
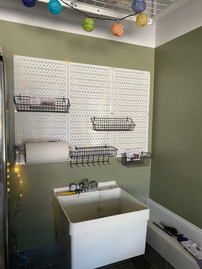
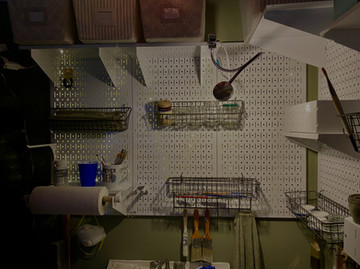
Step 2: Storage
I wasn't sure if I wanted cabinets or shelves, or what shelve spacing would be best. Then I came across this peg board solution from Wall Control. The ability to move shelves and bins around as I used the space seemed the best solution. They have tons of options and colors that you can find here: https://amzn.to/3qkNwcx.
I also found these really cute peg boards bins from Spectrum Diversified.
Specific bins that are in the pictures:
General LinK:
Step 3: Hanging the boards
The hardest part about hanging the Wall Control panels was measuring, spacing, and leveling. Once I had the holes marked in the right place (3 per side of each panel), attaching them to the wall with anchor screws was a one-person job. I really wanted them to be spaced just right so that bins and shelves could span between two panels. I used pennies as spacers and the gap was the perfect width!
Step 4: Lighting
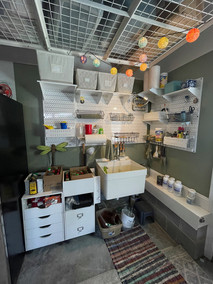
Our overhead garage lighting left the space feeling a bit shadowy and dark - especially with the fridge that close, and the overhead storage above the space. I decided it needed to brighter and a little bit more fun. I used some old party lights that I had and I bought a string of plug-in fairy lights and a clip light.
I nailed the fairy lights to the wall before I hung the panels so they back-light the pegboard (a little hard to see in the pictures, and better in person). So plug is behind the fridge, so all of the lights plug into a wifi connected plug so they can be turned on and off by my phone.
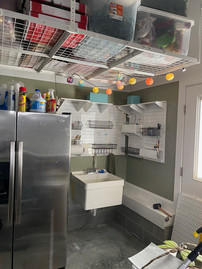
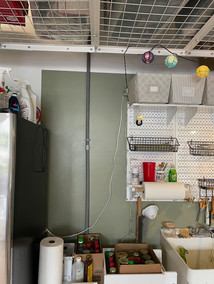
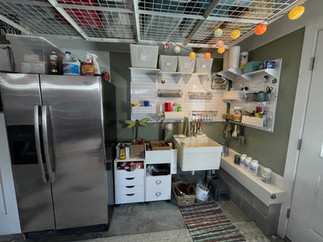
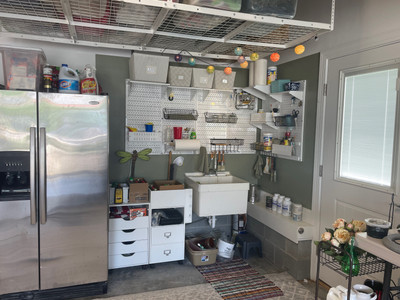
Step 5: Moving the fridge
After I used the space for a while, the fridge being that close to the sink was cramping the space. I decided to move the items we were storing to the left of the fridge and move the fridge over as far as I could. It would put the fridge in front of the crawl space access, but it can easily be pulled out to provide access. I also had one additional pegboard panel, so I was excited to use that in the extra space.
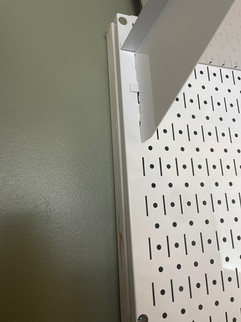
When I moved the fridge, I was surprised to see an electrical conduit going directly through the area where I wanted to hang the pegboard! I had forgotten we had to run additional electric when we put a dehumidifier in the crawl space. I had actually asked to have it placed behind the fridge since - "no one will ever see it there" - ugh. Now it's in my way, and I'm very bummed that I can't hang my extra pegboard there.
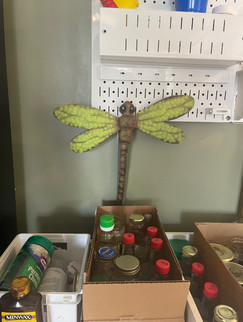
Then my husband Greg came to the rescue! He had the idea to put a spacer on the wall so the pegboard panel could go over the conduit. The best part was that he made the spacers and hung the board on them for me :-). The baskets above and the dragonfly below the panel make the conduit hardly noticeable.
I hope you have fun creating your own spaces. If you have one to share, please put in comments.


Comments